


Got a puncture or a small rip in your inflatable paddle board? Don’t fret, read this guide and let us help you fix it!
Paddle boarding usually equals exploring, which means it’s not impossible for you to come across unknown territories — territories that might contain sharp objects that you didn’t know were there. Although inflatable paddle boards nowadays are very robust and tear-resistant, accidents can still happen and sharp objects may damage your inflatable SUP.
So how do you repair a punctured paddle board?
Things you need

- Repair kit - Most SUP repair kits usually contain two repair patches and a wrench. Patches can be purchased by itself online if you need more. The wrench is used in case you need to tighten or replace the valve on your stand up paddle board.
- PVC glue - Do not use superglue or any random glue you find. These are typically not strong enough or formulated to keep their bond when submerged underwater. Paddle boards are often made with layers of PVC, so it’s ideal that you use PVC glue to fix it.
- Blunt pencil
- Clean rag
- Acetone
- Scissors
- Adhesive pad
- Spoon or any solid object you can use to push out air bubbles
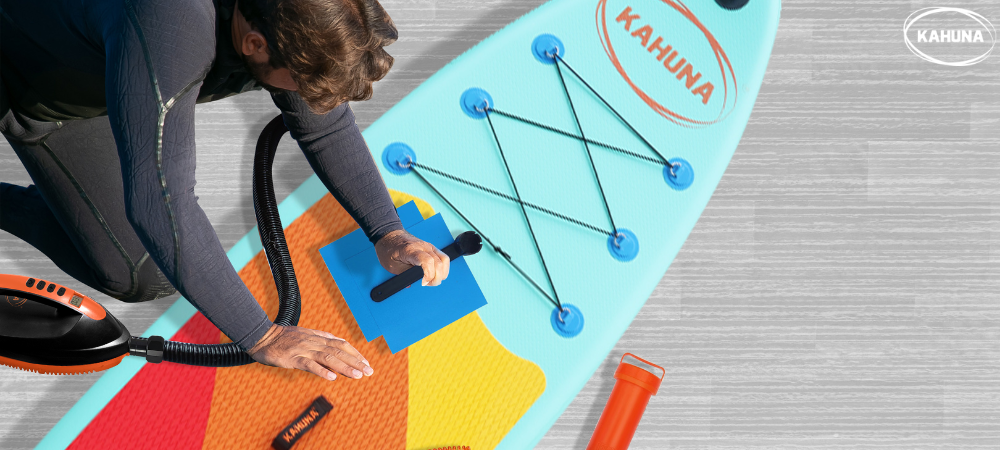
Pro Tip: Some iSUPs, like the Kahuna Hana and Kai, already come with a repair kit. Make sure to check your paddle board backpack (if you have one) for the repair kit before you buy one online.
Paddle board repair: Step-by-step guide
- Start by making sure you’re in a room temperature environment — 20°C to 30°C is ideal.
- Find the hole. You can do this by generously coating the inflated board with soapy water and watching where bubbles form.
- Use a pencil to mark the location of the leak. Don’t forget to let the air out of the paddleboard!
- Make sure the area is flat and wrinkle-free as possible by laying it out as flat as possible.
- Clean the area with acetone and a clean rag.
- Cut a patch from your kit. We recommend that it should be round or at least have rounded corners, so it’ll hold better. Preferably, the diameter of the patch should be around 6 cm. You can mark the dimensions with a pencil if necessary.
- Clean the underside of the patch with acetone as well.
- Apply a thin layer of PVC glue to the patch.
- Wait at least 5–10 minutes for the glue to dry up.
- You can now place the patch directly on the marking of your paddle board. Gently get rid of the wrinkles on the patch by pushing out the air pockets with a spoon or a similar object.
Now you’re done! Make sure to wait for at least 24 hours before using the board in the water again. While it’s curing, we suggest you store it deflated at room temperature with not too high humidity.
Additional reminders
- You can do the soapy water test again to make sure there are no leaks before you use your repaired paddle board.
- Make sure the gluing zone is spotless. Built-up dirt and residue can cause your patch to come off later, so we highly recommend that you clean or wipe the area after every use.
- It’s very important to not let your paddle board get exposed to direct sunlight (unless it is in the water), as this may affect the longevity of the glue on your patch.
- Applying a patch on the same spot again often doesn’t work as well as the first time. If there is a leak in the same area, you may want to replace your iSUP or bring it to a professional for repairs.
 klika australia


No comments
You have to log in in order to leave a comment.